Editor scripting improvements in the upcoming 1.10.4 version
By Vlad Protsenko on Jul 11, 2025
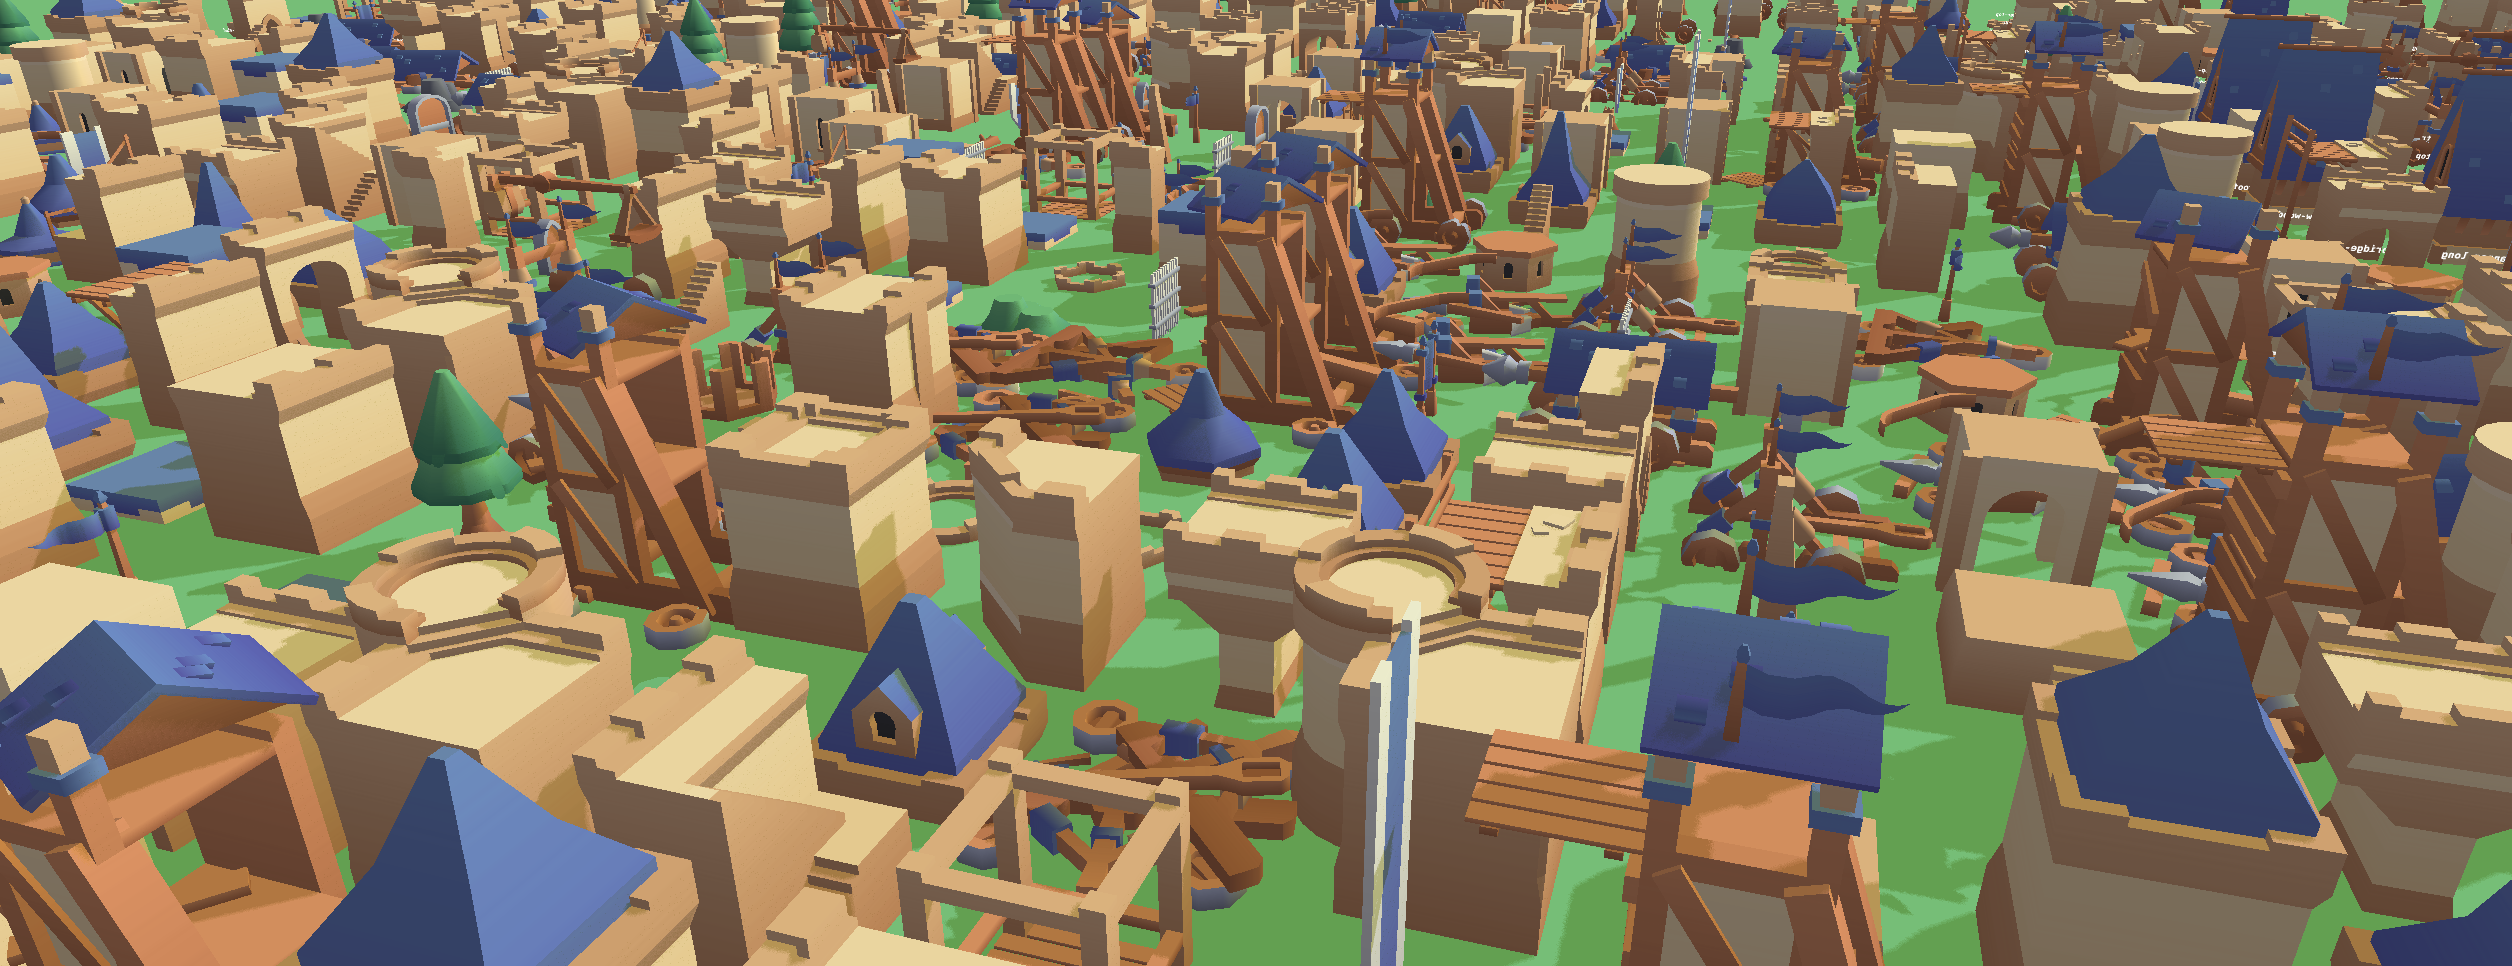
Defold editor now supports editing scenes using editor scripts! The new capabilities were released incrementally over the last couple of months, and only ended up in release notes as a series of small entries like “Now you can edit tilemaps using editor scripts”. But now that most of the work is done, we’d like to share an overview of the whole thing. We will do it by writing an editor script — together — that assembles the following scene:
Tip: You can use touch and drag to rotate the scene. If you are reading this on a computer, you can even use WASD controls! Don’t tell the mobile users what Q and E do!
It’s just files, right?
Since most defold assets are edited as textual protobuf files, and the protobuf definitions are published with every release, it was always possible to edit them — they are just files, after all. First, let’s start with an editor script that creates “just files”. Then, we will discuss the problems with files, and when it makes sense to use another approach. In this post, we will implement a realistic use case that you might want to automate when working with Defold: importing asset packs.
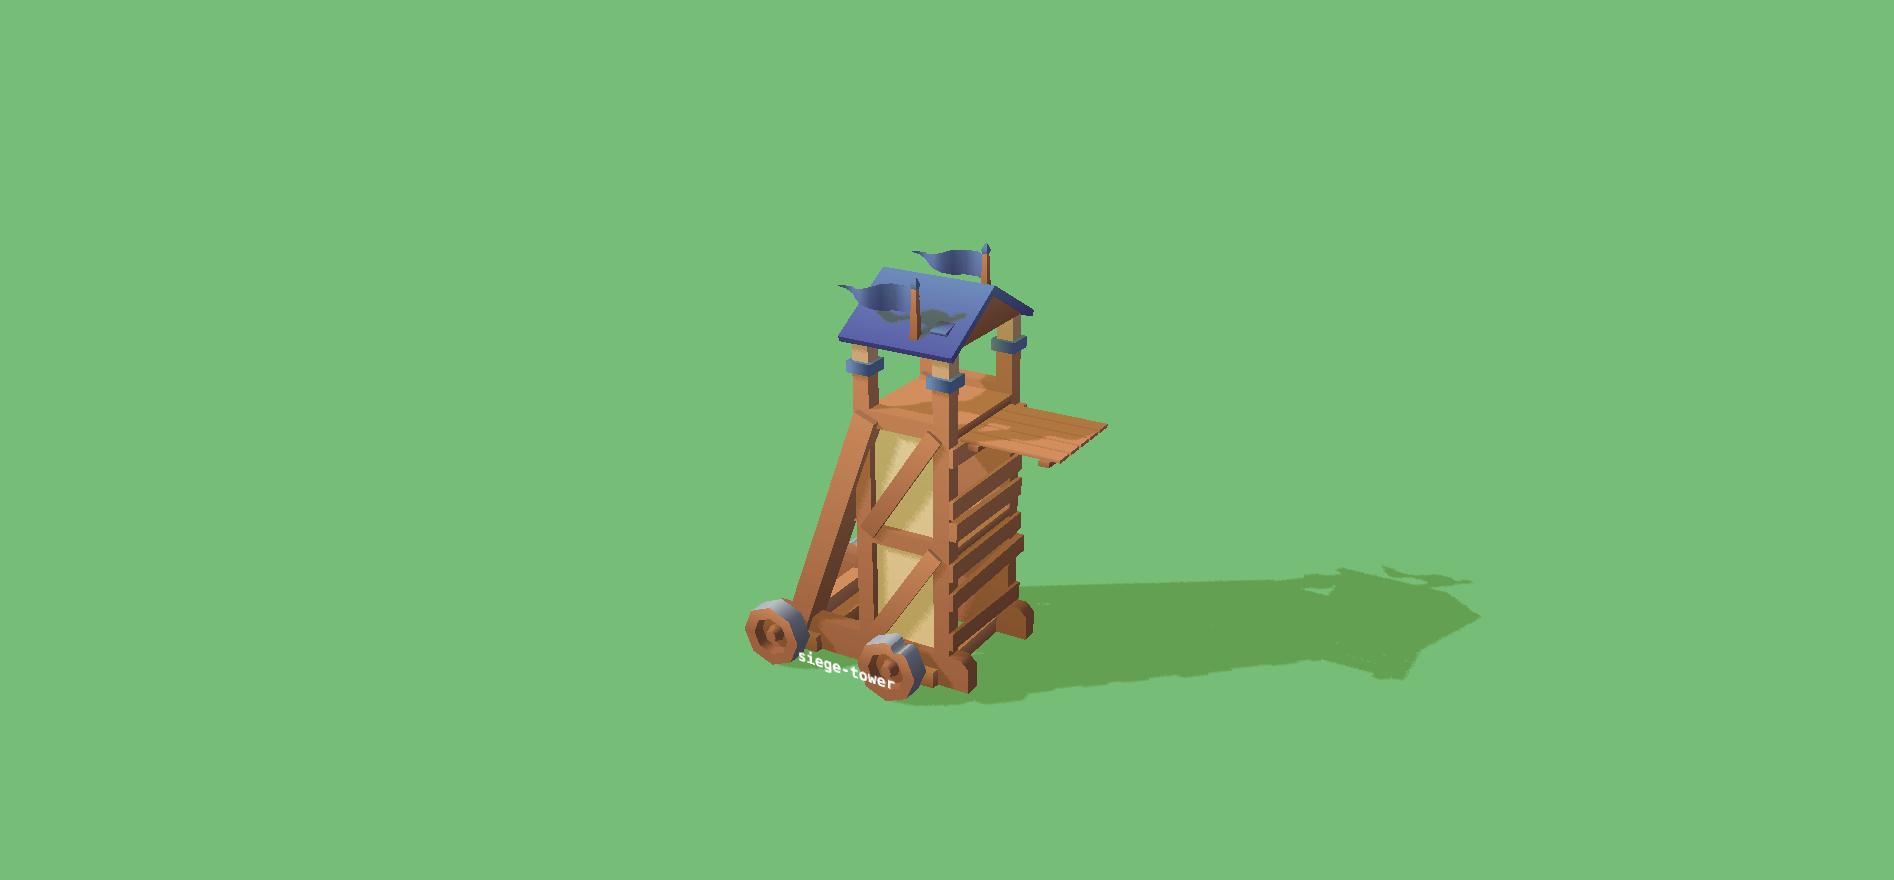
Let’s say you want to use Kenney’s beautiful Castle Kit for a fantasy city builder prototype. You download the pack and extract the GLB models to the project folder. Now, to use the assets in a scene, you need to create game objects for the models. Let’s try creating a single one manually for now. We will also use Dragosha’s wonderful light-and-shadows pack for shading, so we will need to set up some custom materials on a model.
Here is how a manually-made game object looks:
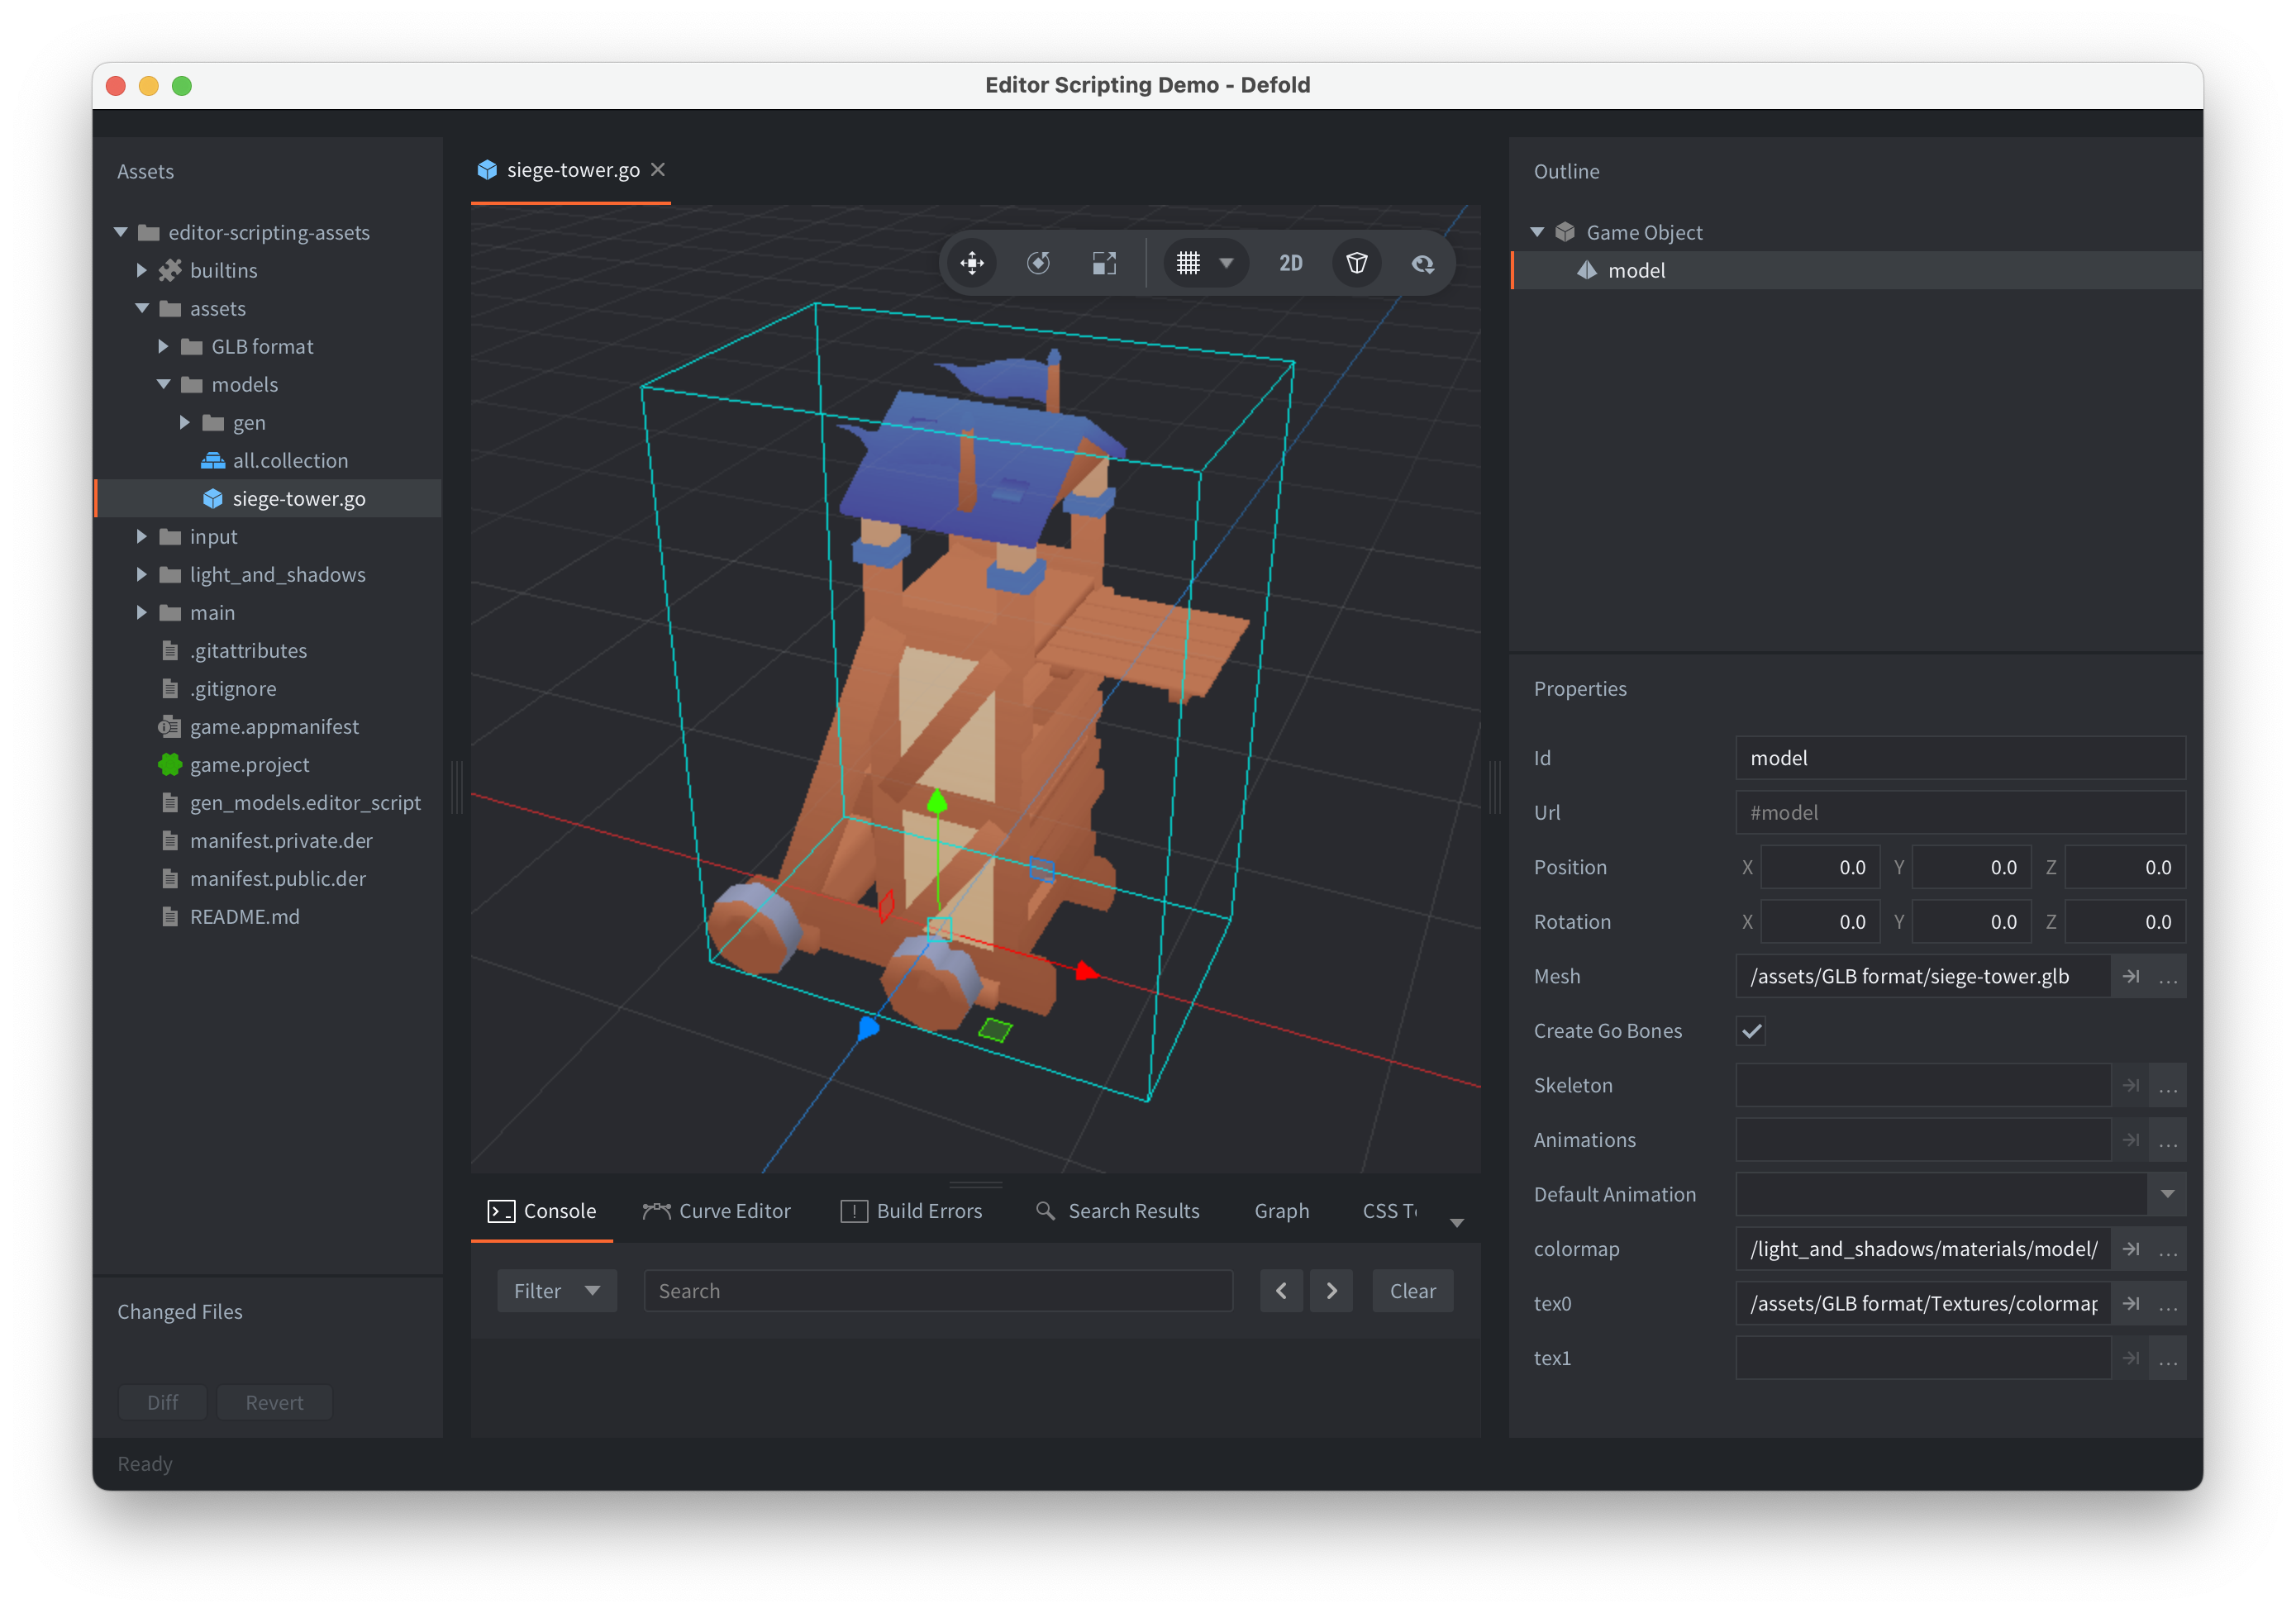
To create it, we need to make a new game object with an embedded model component. Then, we set the following properties on a model:
Mesh— points to the GLB file from Kenney’s asset packcolormap— material that casts shadows, from Dragosha’s packtex0— image to colorize the model
It would be time-consuming to repeat these steps for every model, so let’s write a simple editor script to automate it.
Editor Script Part 1: a Command
Let’s start with creating an .editor_script file and removing all the boilerplate:
local M = {}

function M.get_commands()
    return {}
end

return M
Now, let’s modify M.get_commands() to return a command that prints a message when executed. Start small.
return {
    editor.command({
        label = "Generate models",
        locations = {"Edit"},
        id = "app.generate-models",
        run = function()
            print("Lets go!")
        end
    })
}
Tip: if you create a command with an id, you can then open File → Preferences and assign a shortcut to this command in a Keymap tab. This comes in handy when iterating on editor scripts. I picked Ctrl+G, where G is a mnemonic for Generate.
Now, if you reload editor scripts (Project → Reload Editor Scripts or Cmd+Shift+R) and run the command (either using Edit → Generate Models, or a custom shortcut), you will see Lets go! printed in the console — we are ready to proceed.
Editor Script Part 2: Generating Game Objects
Let’s have a look at the game object file as a text:
embedded_components {
  id: "model"
  type: "model"
  data: "mesh: \"/assets/GLB format/siege-tower.glb\"\n"
  "name: \"\"\n"
  "materials {\n"
  "  name: \"colormap\"\n"
  "  material: \"/light_and_shadows/materials/model/model_world.material\"\n"
  "  textures {\n"
  "    sampler: \"tex0\"\n"
  "    texture: \"/assets/GLB format/Textures/colormap.png\"\n"
  "  }\n"
  "}\n"
  ""
}
Source files use a protobuf text format. Our embedded model is embedded as an escaped protobuf text. This happens because protobuf does not support generic message types, so we have to emulate them. Not very convenient, but we still prefer to use the format because protobuf resources can be compiled to very small binaries, and we care about small bundle sizes. Anyway, when creating files, we will only need to replace the siege-tower part with a model name, so let’s make it a template:
local template = [[embedded_components {
  id: "model"
  type: "model"
  data: "mesh: \"/assets/GLB format/%s.glb\"\n"
  "name: \"\"\n"
  "materials {\n"
  "  name: \"colormap\"\n"
  "  material: \"/light_and_shadows/materials/model/model_world.material\"\n"
  "  textures {\n"
  "    sampler: \"tex0\"\n"
  "    texture: \"/assets/GLB format/Textures/colormap.png\"\n"
  "  }\n"
  "}\n"
  ""
}
]]
As you can see, the name is replaced with %s — we will use template:format(name) to create .go files.
We will use the new editor.create_resources() function to create all the files at once — it is significantly more performant than using Lua’s utilities for writing files. To create multiple files with custom content, we will need to call it with a list of tuples: file names and contents. For example, it might look like that:
editor.create_resources({
    {"/assets/models/get/siege-tower.go", template:format("siege-tower")}
})
Now, let’s change the run function to create game objects for all the models:
-- select and clear the directory for generated assets
local root_dir = "/assets/models/gen"
editor.delete_directory(root_dir)
-- list all assets from the asset pack
local assets = editor.get("/assets/GLB format", "children")
-- this is the argument to `editor.create_resources()`:
local resources = {}
for i = 1, #assets do
    local glb_path = assets[i]
    local base_name = glb_path:match("([^/]+)%.glb$")
    if base_name then
        local go = root_dir .. "/" .. base_name .. ".go"
        resources[#resources+1] = {go, template:format(base_name)}
    end
end
editor.create_resources(resources)
Try reloading the editor scripts and executing the command again: it will create a game object for every model — these can be used for making scenes! Nice!
When files are not enough
So far, we have a simple file-based API to import assets, nothing fancy here. But using file formats is much harder when you want to create complex scenes. For example, collections are trees of game objects, but the file format of a collection is a flat list, where game objects refer to their children by ids. It’s inconvenient to take a tree and then convert it to such a flat list. Additionally, there is an extra complication: since a file format uses ids to refer to children, there is a requirement — but only in the file format — that every id must be specified, and unique. But when creating a collection, in a lot of cases you don’t care about ids of game objects that exist only to place something in a scene. So.
The problem is this — sometimes, you don’t want to think in terms of file formats. When it comes to scenes, you want to edit them as scenes. And this is exactly what we’ve been working on for the last 2 months. You can edit collections and GUIs as trees, and the editor will handle file formats and generate ids for you. You can edit tilemaps as 2D grids. Et cetera.
Now, let’s compose a scene!
Editor script part 3: making a collection
We are going to place the created game objects in a scene to preview all of them together. Additionally, let’s show a label with the name of the asset alongside every model. This is what we are going to do in the final part of the editor script:
First, let’s create an empty /assets/all.collection. Then, we will edit its children — the children property — using the editor’s built-in transactional editing API. This API is very useful for making commands that group multiple edits in a single undoable step, though it doesn’t matter much in our case. If simplified, the code would look something like this:
local coll = "/assets/models/all.collection"
editor.transact({
    editor.tx.add(coll, "children", {
        -- add referenced game object
        type = "go-reference",
        path = "/assets/models/gen/siege-tower.go",
        children = {
            -- add embedded game object with a label
            {
                type = "go",
                components = {
                    {type = "label", text = "siege-tower"}
                }
            }
        }
    })
})
Now let’s implement the real thing. We already have a resources array with tuples of game object paths + their contents. Let’s use it to edit the scene. We need to add the following code at the bottom of the run handler:
local coll = "/assets/models/all.collection"
-- txs array, start by clearing the collections, so we don't add
-- too many items when re-generating the assets
local edit_txs = { editor.tx.clear(coll, "children") }

local row = math.floor(math.sqrt(#resources))
local half = math.floor(row / 2)
for i = 1, #resources do
    local go = resources[i][1]
    local x = (i - 1) % row
    local z = math.floor(i/row)
    edit_txs[#edit_txs+1] = editor.tx.add(coll, "children", {
        type = "go-reference",
        path = go,
        -- position all objects around 0,0
        position = {- (x - half) * 1.5, 0, - (z - half) * 1.5},
        children = {
            {
                -- no id necessary, it's auto-generted when omitted
                type = "go",
                scale = {0.007, 0.007, 0.007},
                position = {0, 0.2, 0.7},
                components = {
                    {
                        type = "label",
                        text = go:match("([^/]+)%.go$"),
                        font = "/main/font.font",
                        material = "/builtins/fonts/label.material"
                    }
                }
            }
        }
    })
end
editor.transact(edit_txs)
-- we don't care about undo here, might as well save:
editor.save()
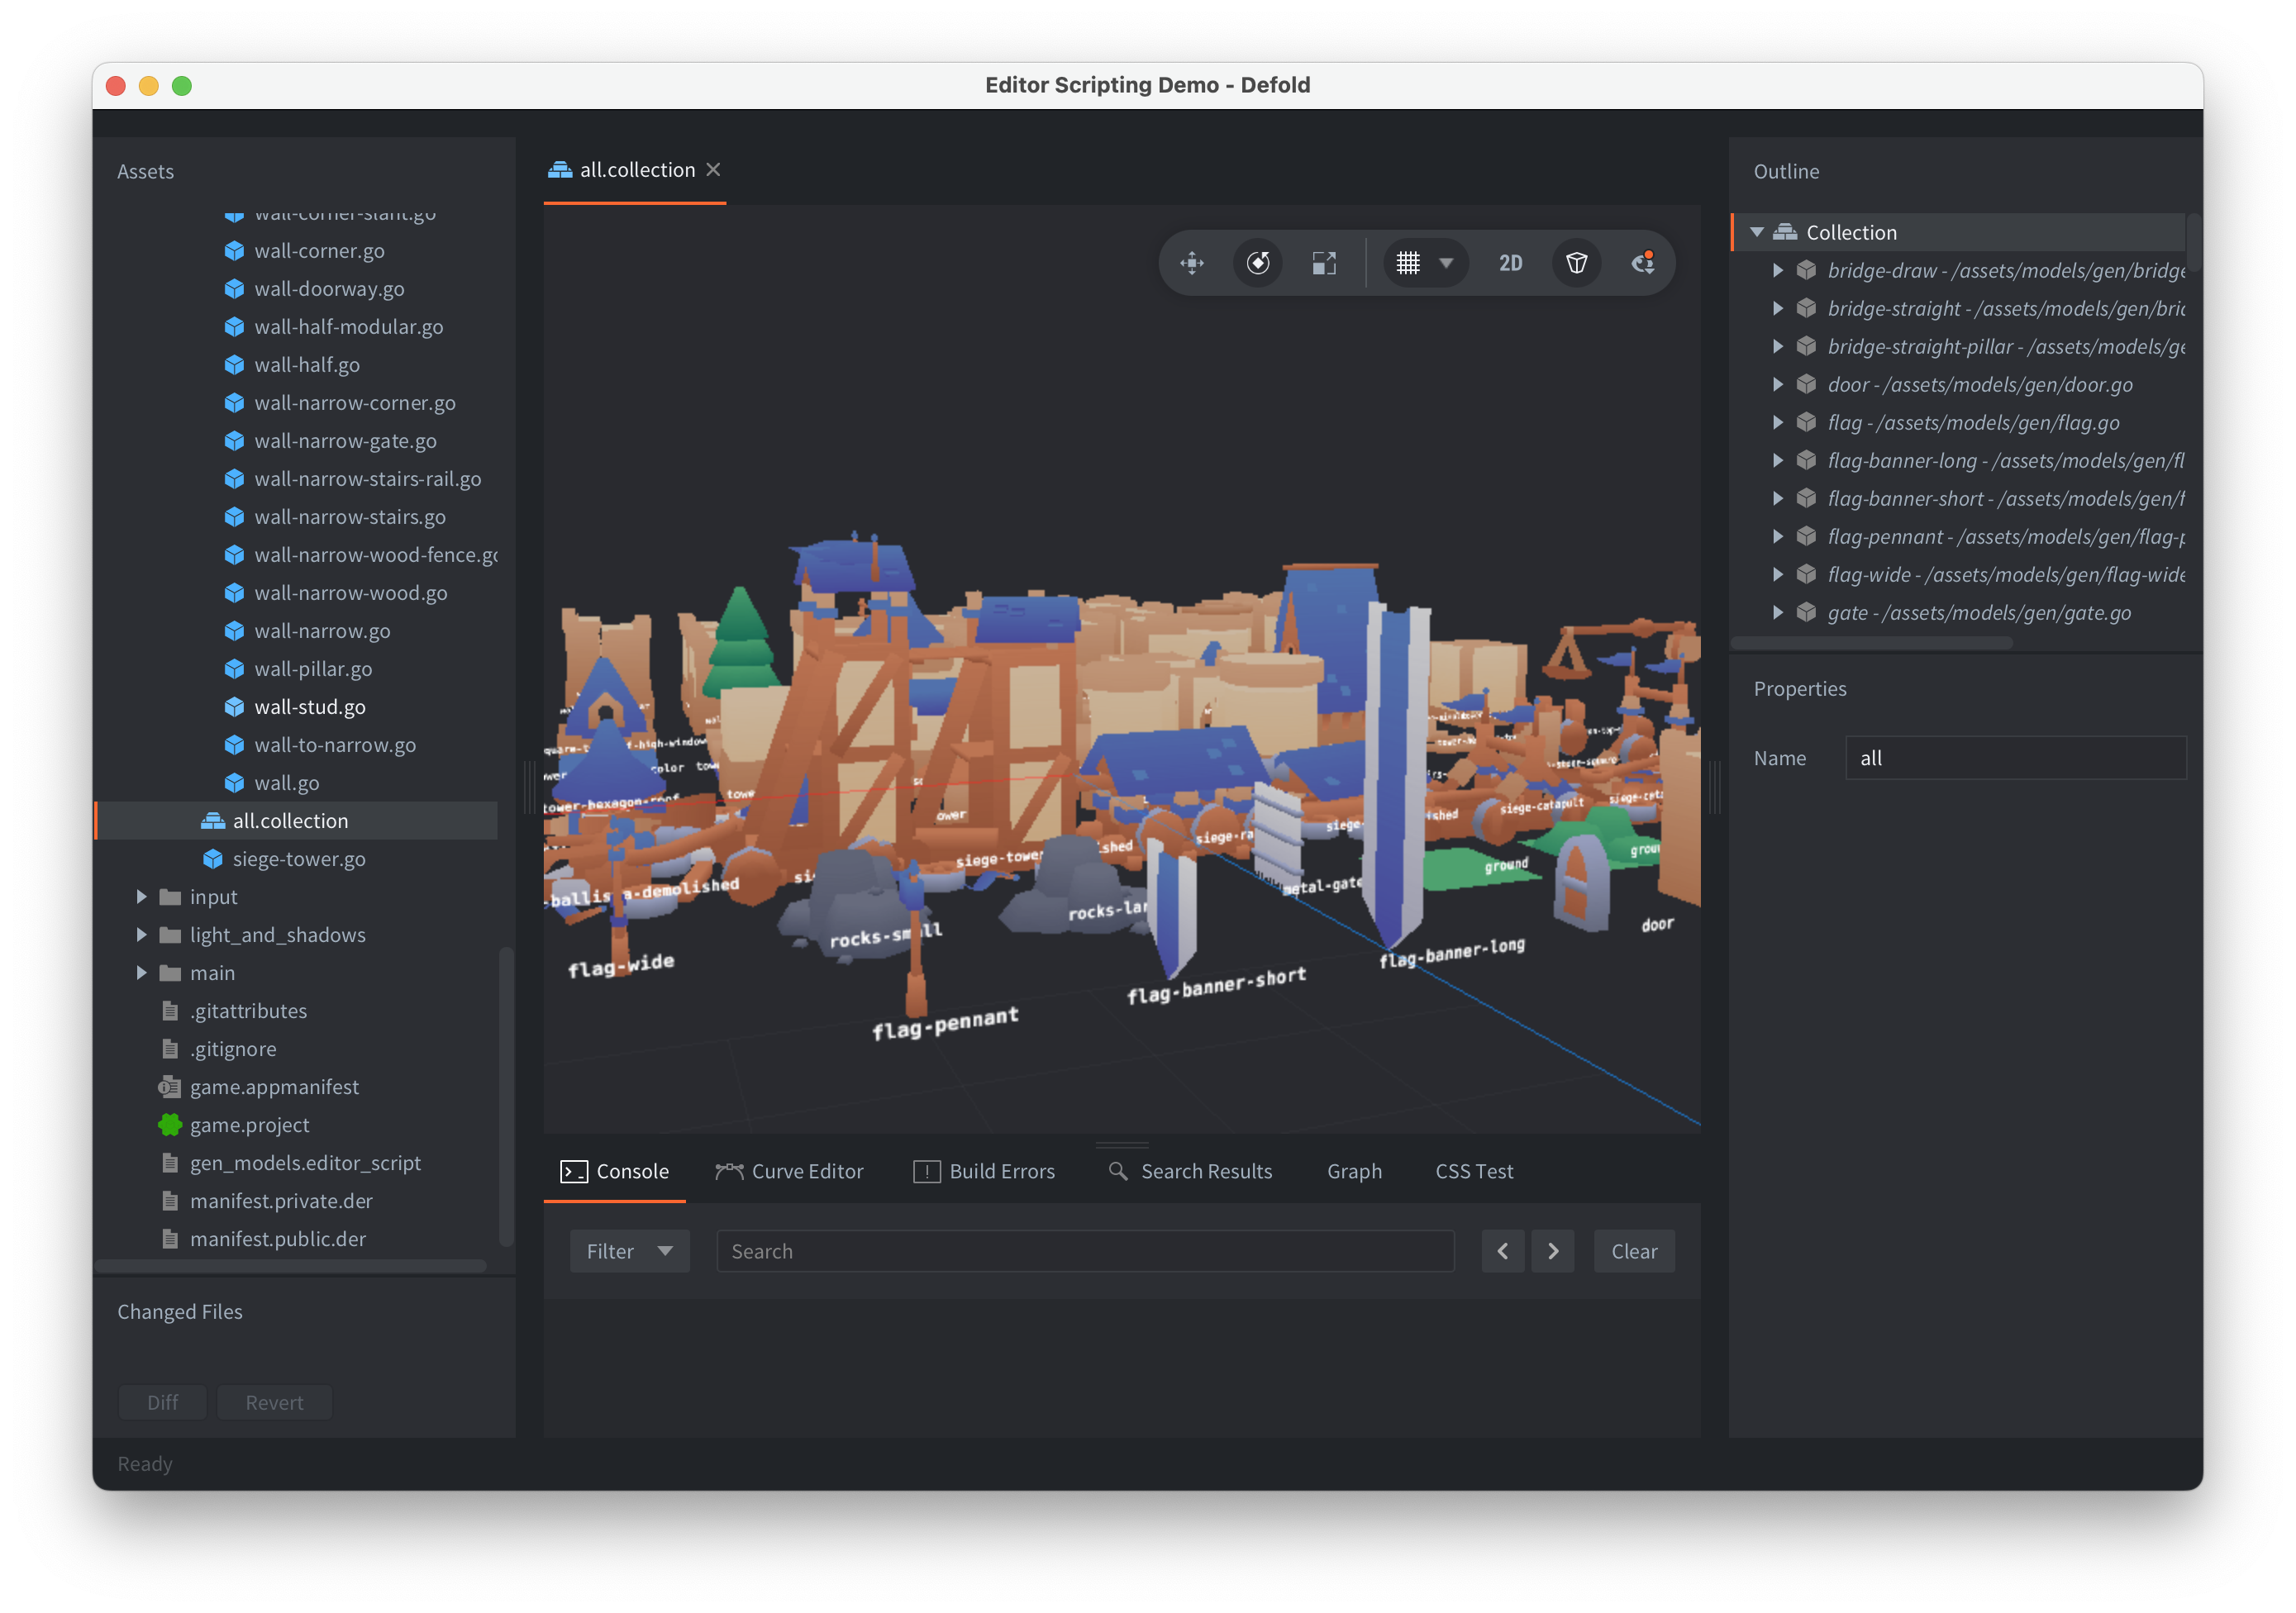
And voila, that’s how it’s done! Reload editor scripts, re-run the command, and you’ll have a collection with every item.
P.S.
If you want to learn more, check out the editor scripting docs. Here is the code for the demo, and here is the full editor script source. Note that collection editing and editor.create_resources() are only available in Defold version 1.10.4, which, at the time of writing, has not been released yet.
We’d be happy to talk more about other, already released editing capabilities, such as tilemaps, but this post is already getting too long. Some other time, maybe?
Meanwhile, happy Defolding!