TexturePacker
TexturePacker is an offline tool to create atlases. It uses different strategies to pack images as tightly as possible into a larger atlas.
Installation
Copy the folder defoldexporter from ./exporter to a location on your drive, e.g. /Users/john/path/to/exporters/defoldexporter
Then specify a the folder in Texture Packer like so:

Export from Texture Packer
In Texture Packer, create a new project.
Next, press the Framework button:
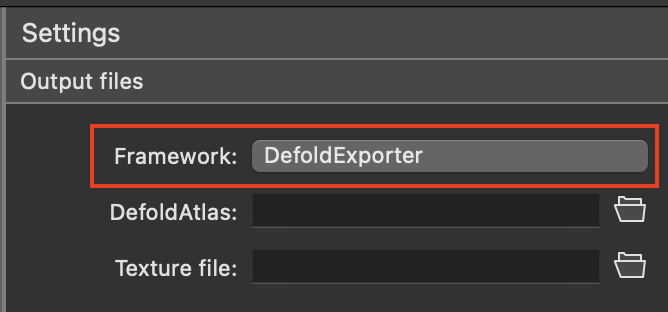
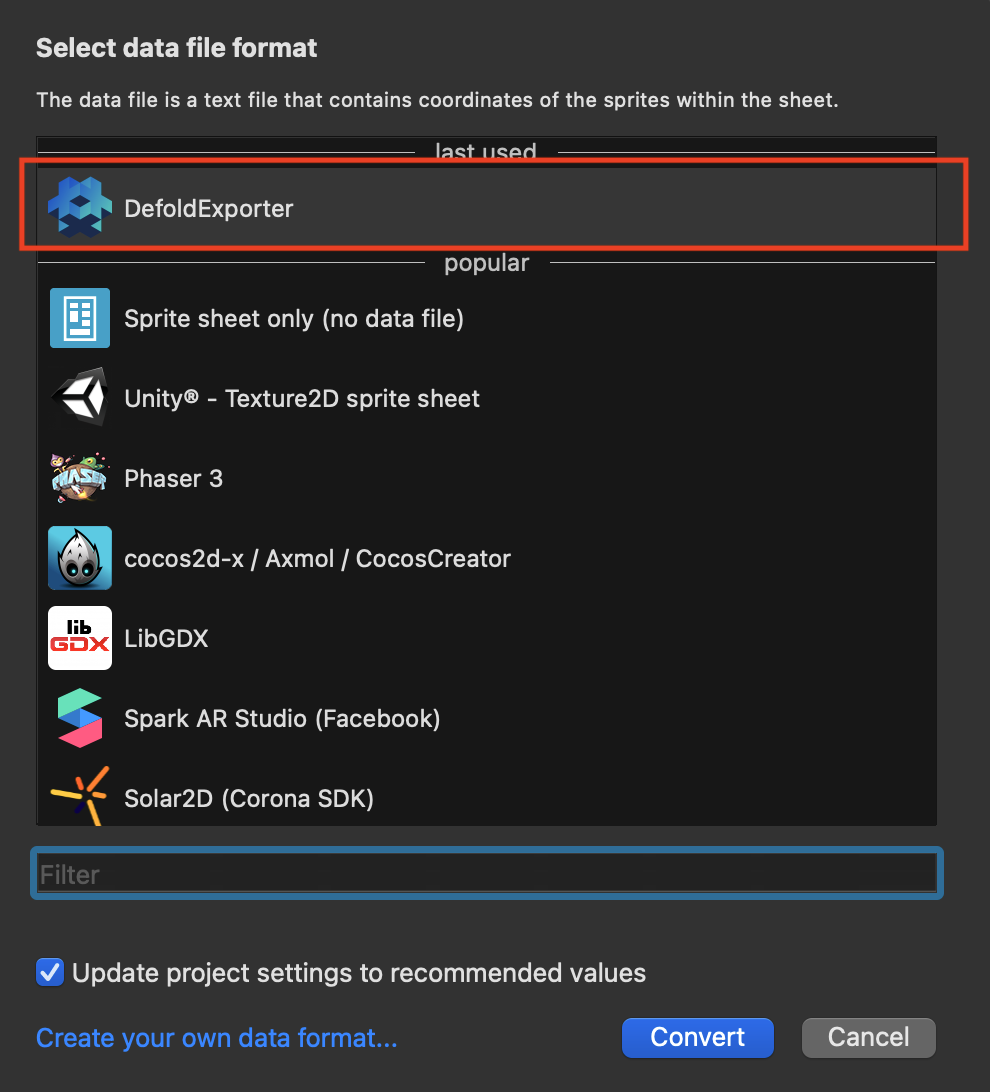
It opens up the selection of exporters, choose DefoldExporter:
Next, choose a target file, by pressing the DefoldAtlas button:
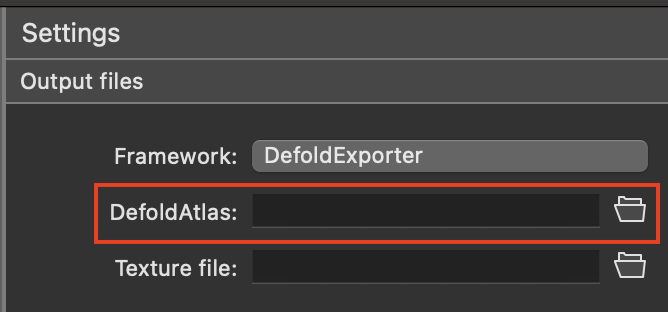
Chose a location for your .tpinfo file.
The resulting exported .png files will end up next to this file.
Import into Defold editor
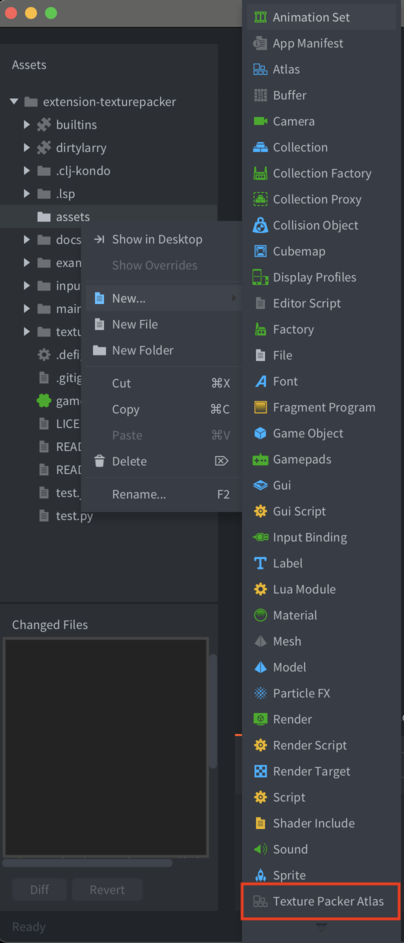
In your Defold project, add a new file in the resource view. Choose Texture Packer Atlas, name it test, and you will now have a test.tpatlas.
In the final step, you can now hook up the .tpinfo exported file to your .tpatlas file:
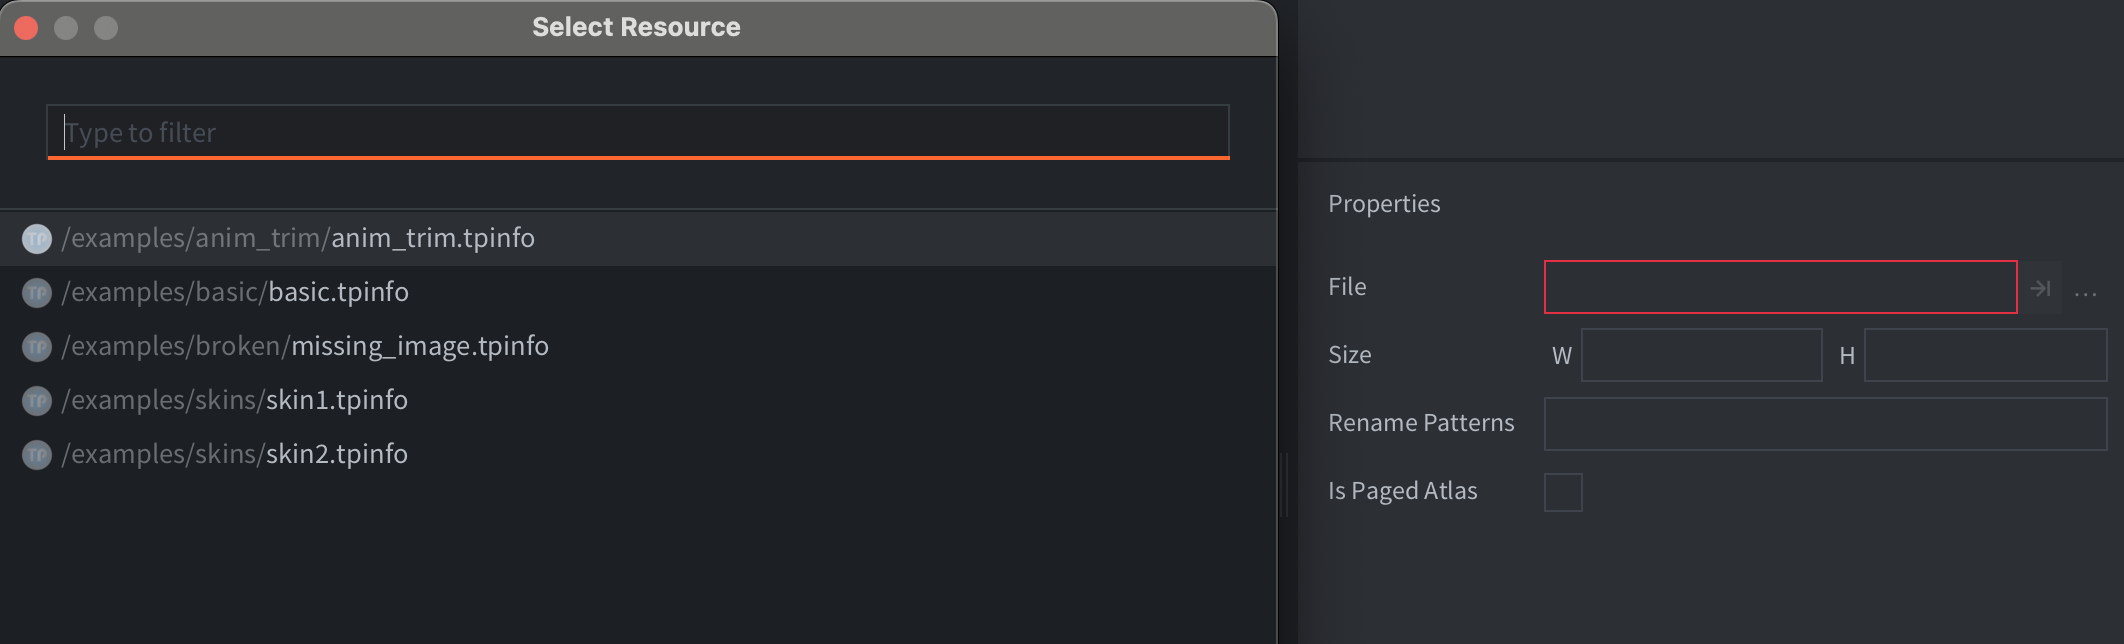
Properties
-
Rename Patterns- Allows you to rename the source image ids. Useful when using multiple atlases with animations. -
Is Paged Atlas- If the.tpinfohas only one page (i.e. one .png), then you may choose if this file should generate a paged texture or not. Useful if you wish to use the atlas with a certain material. If the.tpinfofile has more than one page, it will always be exported as a paged texture.
Animations
The overall functionality of a .tpatlas file is the same as a regular .atlas file.
You can define new animations, or use the single frame animations.
There are some differences:
- Single frame animations cannot be removed.
- You cannot add new images to the
.tpatlasfile.
In both cases, the workaround is to reexport the .tpinfo file from the Texture Packer tool.
Additional resources
- Watch “How to use Texture Packer Sprite Sheets and Animations with Defold?” on YouTube
- Read the official Getting Started guide for Texture Packer