Mesh component
Defold is at its core a 3D engine. Even when you work with 2D material only all rendering is done in 3D, but orthographically projected onto the screen. Defold allows you to utilize full 3D content by adding and creating 3D meshes at run-time in your collections. You can build games in strictly 3D with only 3D assets, or you can mix 3D and 2D content as you wish.
Creating a mesh component
Mesh components are created just like any other game object component. You can do it two ways:
- Create a Mesh file by right-clicking a location in the Assets browser and select New... ▸ Mesh.
- Create the component embedded directly into a game object by right-clicking a game object in the Outline view and selecting Add Component ▸ Mesh.
With the mesh created you need to specify a number of properties:
Mesh properties
Apart from the properties Id, Position and Rotation the following component specific properties exist:
- Material
- The material to use for rendering the mesh.
- Vertices
- A buffer file describing the mesh data per stream.
- Primitive Type
- Lines, Triangles or Triangle Strip.
- Position Stream
- This property should be the name of the position stream. The stream is automatically provided as input to the vertex shader.
- Normal Stream
- This property should be the name of the normal stream. The stream is automatically provided as input to the vertex shader.
- tex0
- Set this to texture to use for the mesh.
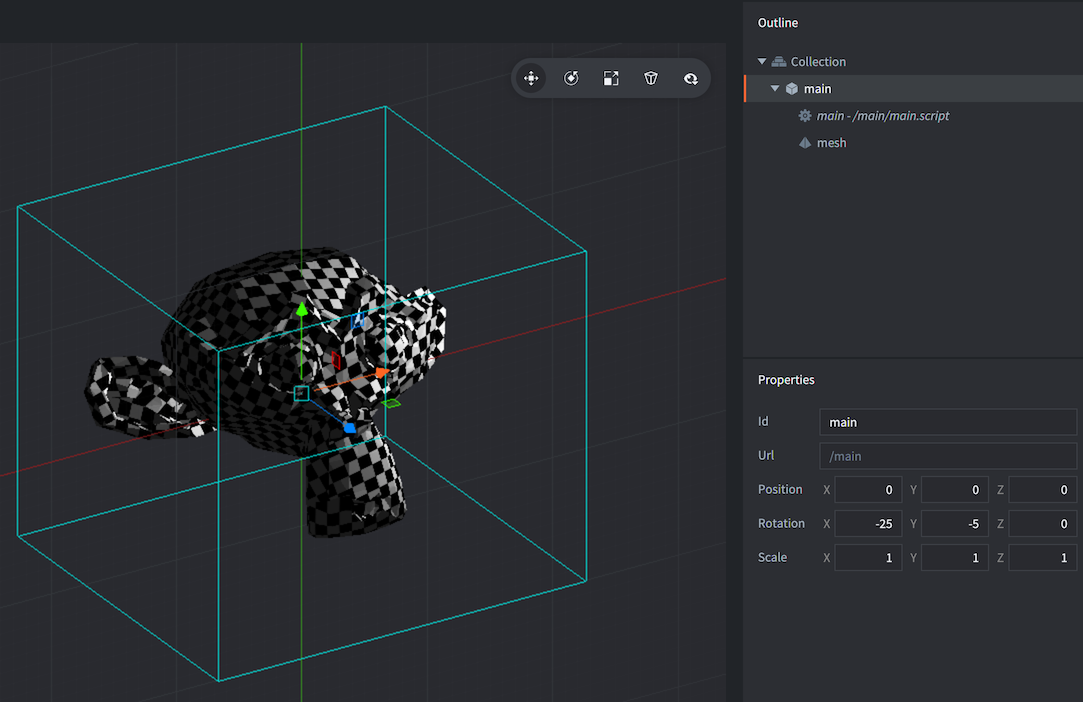
Editor manipulation
With the mesh component in place you are free to edit and manipulate the component and/or the encapsulating game object with the regular Scene Editor tools to move, rotate and scale the mesh to your liking.
Runtime manipulation
You can manipulate meshes at runtime using Defold buffers. Example of creating a cube from triangle strips:
-- cube
local vertices = {
	0, 0, 0,
	0, 1, 0,
	1, 0, 0,
	1, 1, 0,
	1, 1, 1,
	0, 1, 0,
	0, 1, 1,
	0, 0, 1,
	1, 1, 1,
	1, 0, 1,
	1, 0, 0,
	0, 0, 1,
	0, 0, 0,
	0, 1, 0
}

-- create a buffer with a position stream
local buf = buffer.create(#vertices / 3, {
	{ name = hash("position"), type=buffer.VALUE_TYPE_FLOAT32, count = 3 }
})

-- get the position stream and write the vertices
local positions = buffer.get_stream(buf, "position")
for i, value in ipairs(vertices) do
	positions[i] = vertices[i]
end

-- set the buffer with the vertices on the mesh
local res = go.get("#mesh", "vertices")
resource.set_buffer(res, buf)
Refer to the forum announcement post for more information on how to use the Mesh component, including sample projects and code snippets.
Frustum culling
Mesh components are not automatically culled due to their dynamic nature and the fact that it is not possible to know for sure how the positional data is encoded. In order to cull a mesh the axis-aligned bounding box of the mesh needs to be set as meta data on the buffer using 6 floats (AABB min/max):
buffer.set_metadata(buf, hash("AABB"), { 0, 0, 0, 1, 1, 1 }, buffer.VALUE_TYPE_FLOAT32)
Material constants
The default mesh material has the following constants that can be changed using go.set() or go.animate() (refer to the Material manual for more details). Examples:
go.set("#mesh", "tint", vmath.vector4(1,0,0,1))
go.animate("#mesh", "tint", go.PLAYBACK_LOOP_PINGPONG, vmath.vector4(1,0,0,1), go.EASING_LINEAR, 2)
tint- The color tint of the mesh (
vector4). The vector4 is used to represent the tint with x, y, z, and w corresponding to the red, green, blue and alpha tint.
Vertex local vs world space
If the Vertex Space setting of the mesh material is set to Local Space the data will be provided as-is to you in your shader, and you will have to transform vertices/normals as usual on the GPU.
If the Vertex Space setting of the mesh material is set to World Space you have to either provide a default “position” and “normal”, stream, or you can select it from the dropdown, when editing the mesh. This is so that the engine can transform the data to world space for batching with other objects.
- English
- 中文 (Chinese)
- Español (Spanish)
- Français (French)
- Νεοελληνική γλώσσα (Greek)
- Italiano (Italian)
- Język polski (Polish)
- Português (Portuguese)
- Русский (Russian)
- Українська (Ukranian)
Did you spot an error or do you have a suggestion? Please let us know on GitHub!
GITHUB